Bedroom Wall - Design & Decisions
THE PROJECT
This project started like most of my projects do - me fixating on some feature of our house I’d like to change. This time, it was the dimensions and layout of our primary bedroom. Our bedroom was just…long. If that detailed description doesn’t give you an adequate visual, please see the screenshot of the room from our house floor plan below. Given the location of the windows and doors, pitch of the ceiling, and outlets, there was exactly one logical place to position our king bed: the left wall, farthest from the bedroom door. This left a vacant space on the right side of the room. This portion of the bedroom also has the three large windows facing our backyard.

THE DESIGN
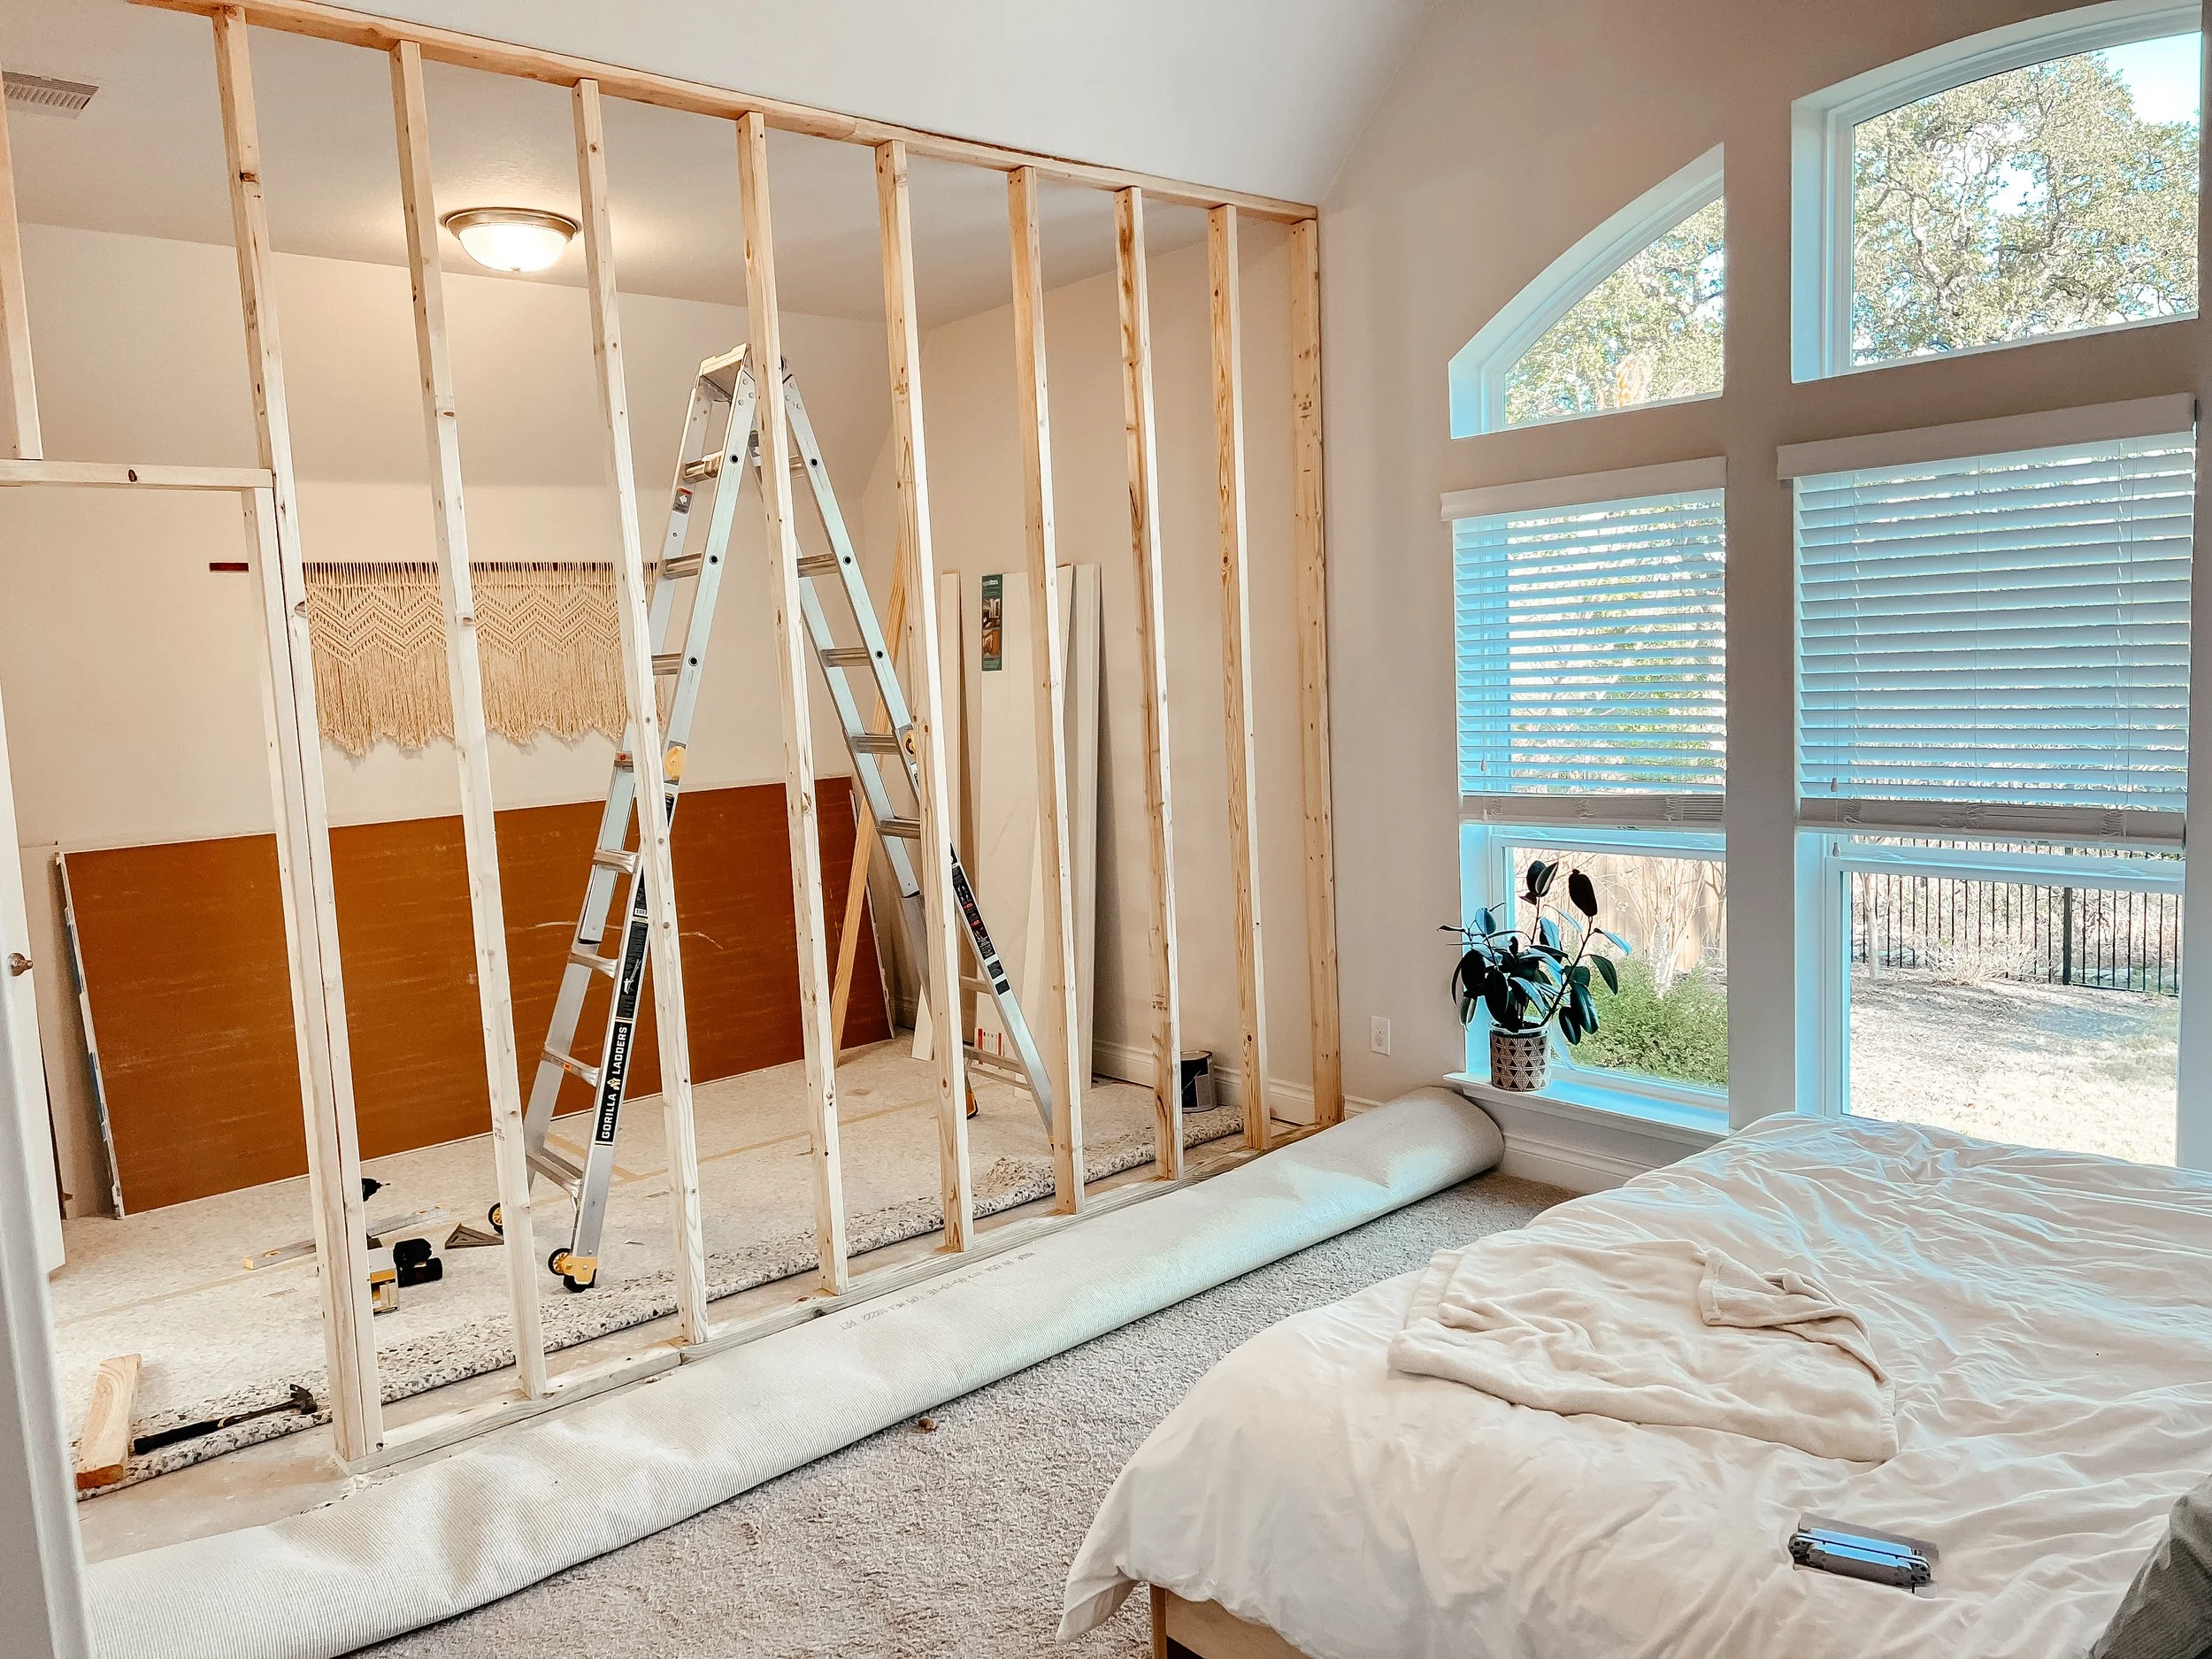
I spent a lot of time debating how I could use this large, empty side of the room. This proved to be quite a challenge. If you know me, you know I have a strong aversion to useless filler furniture. My husband (Jake) eventually threw out an idea. He suggested we build a dividing wall to create two separate spaces. The blue line indicated on the floor plan above was his proposed wall placement. The area right of the wall would become the new primary bedroom (13’ x 13’) and the area to the left would become our new master closet (9’ x 13’). I will reveal the new closet space and explain how we will use the old closet in another post!
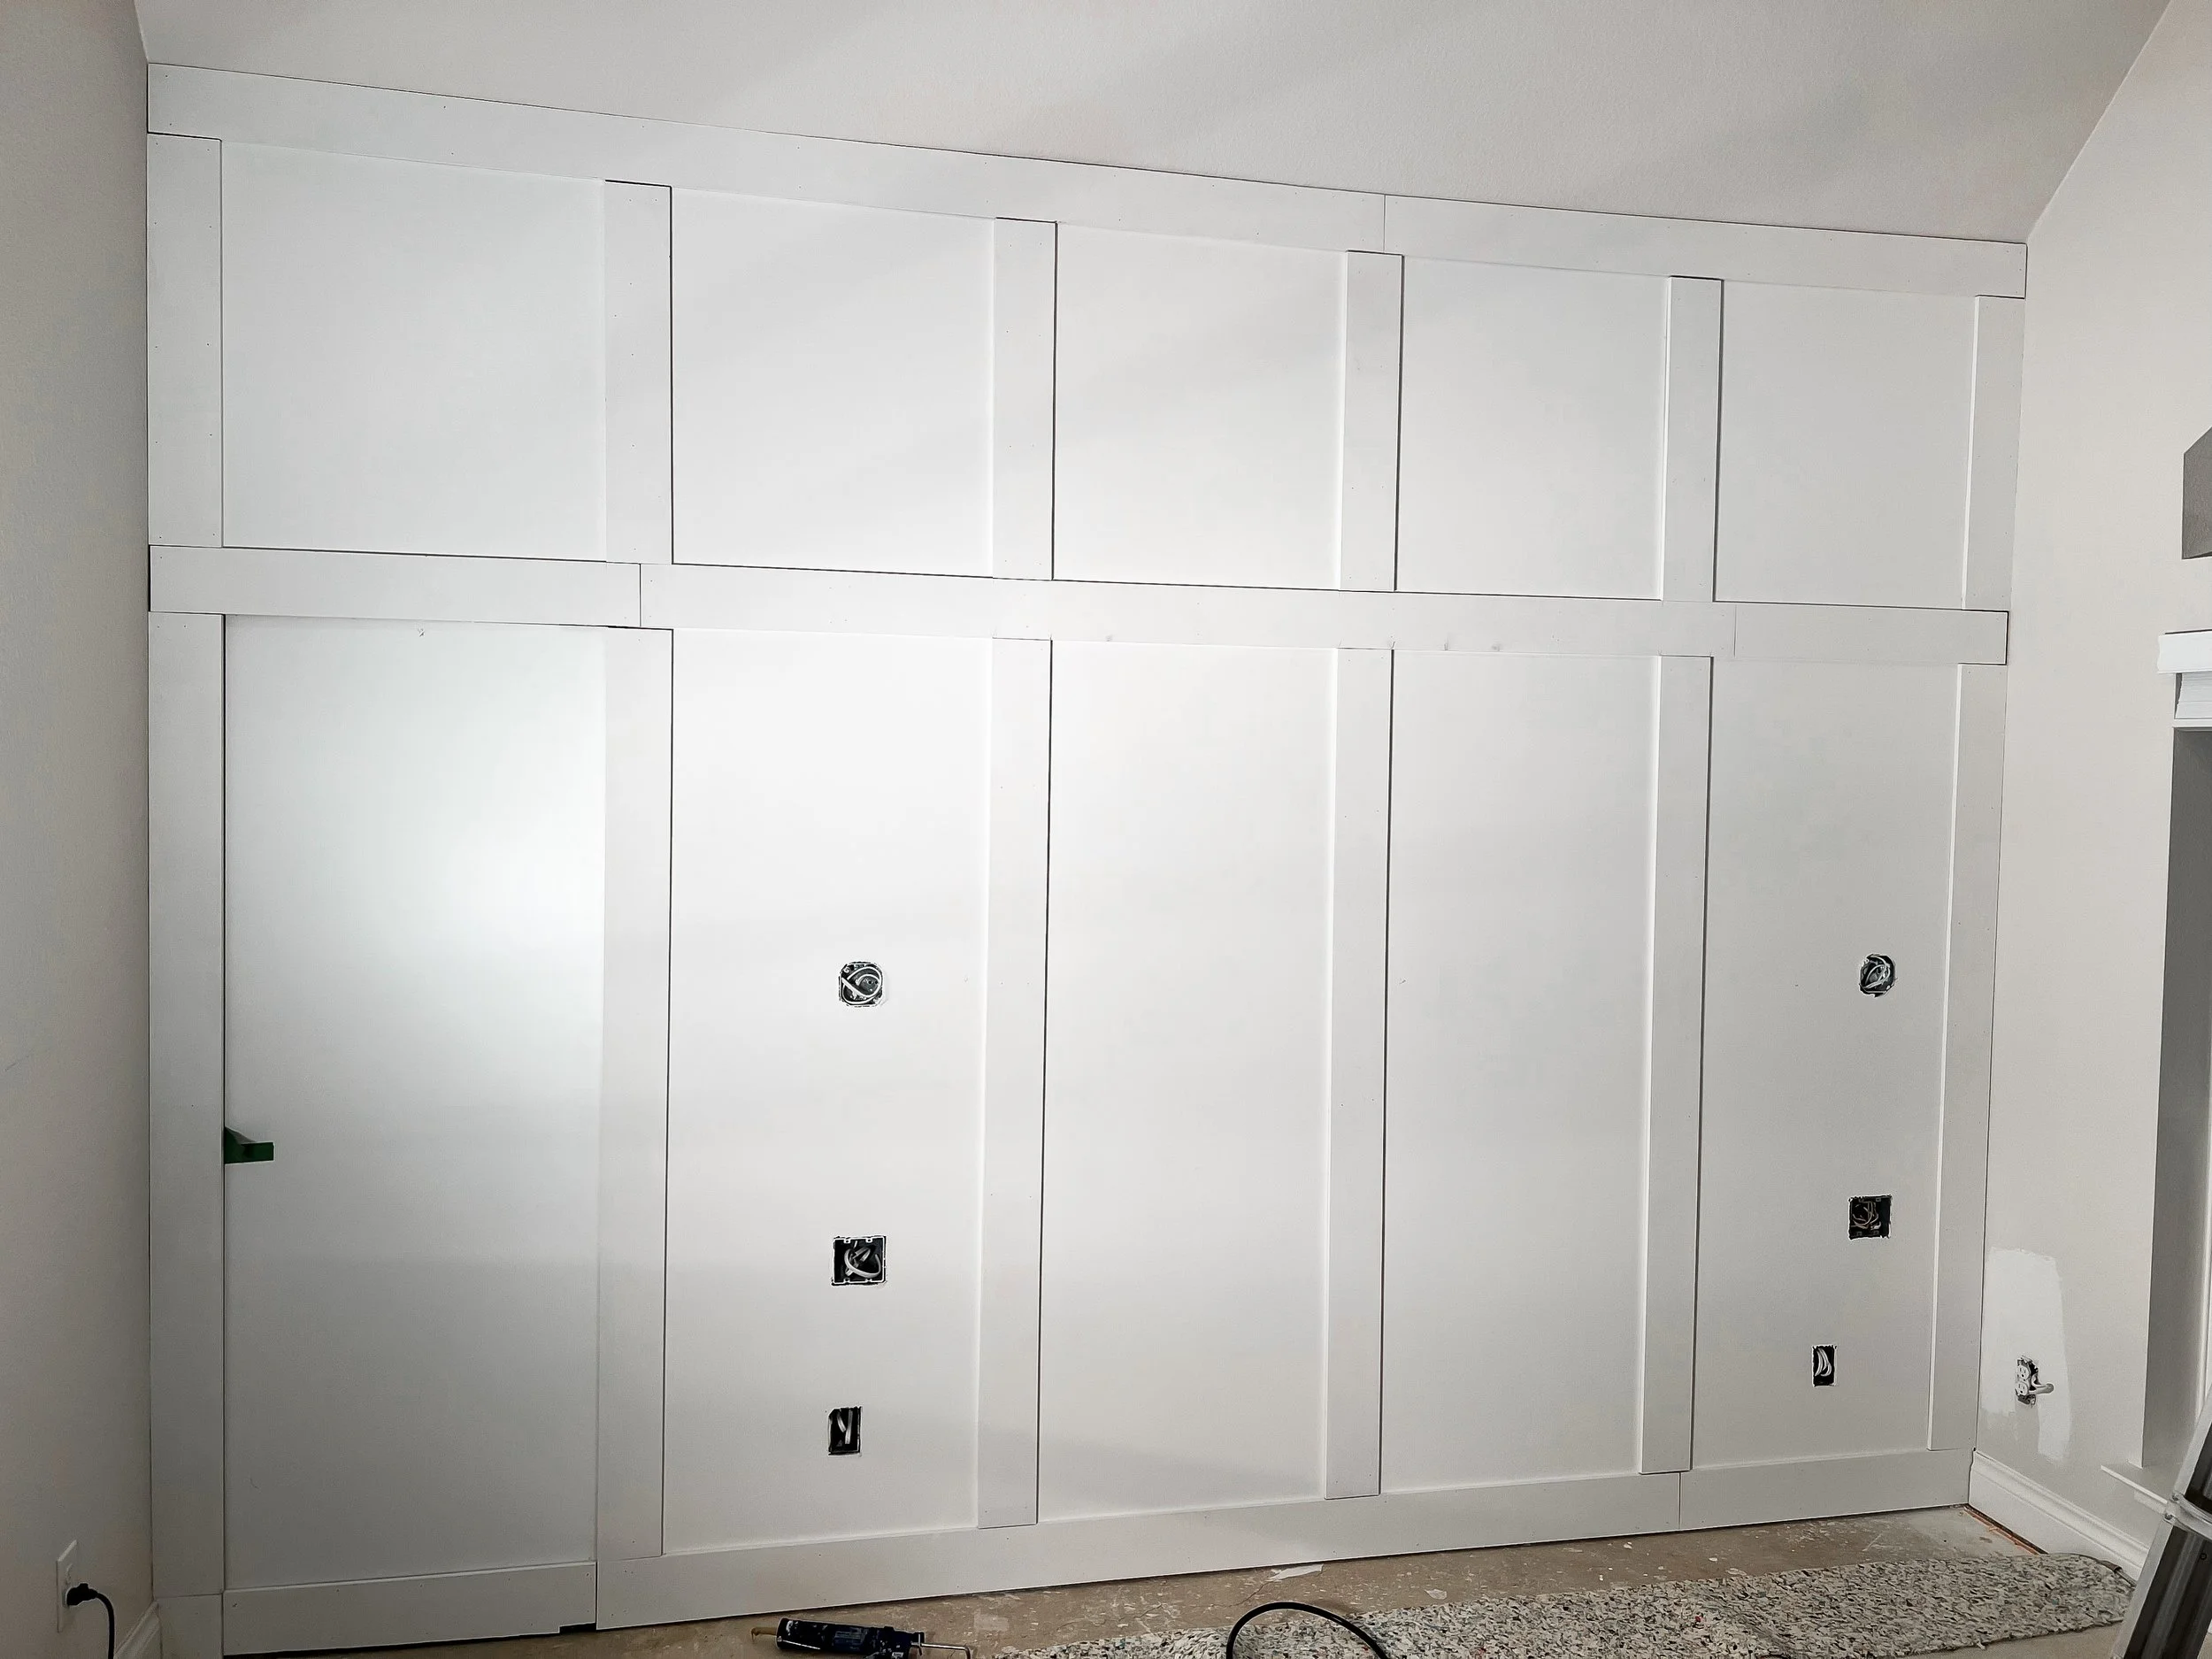
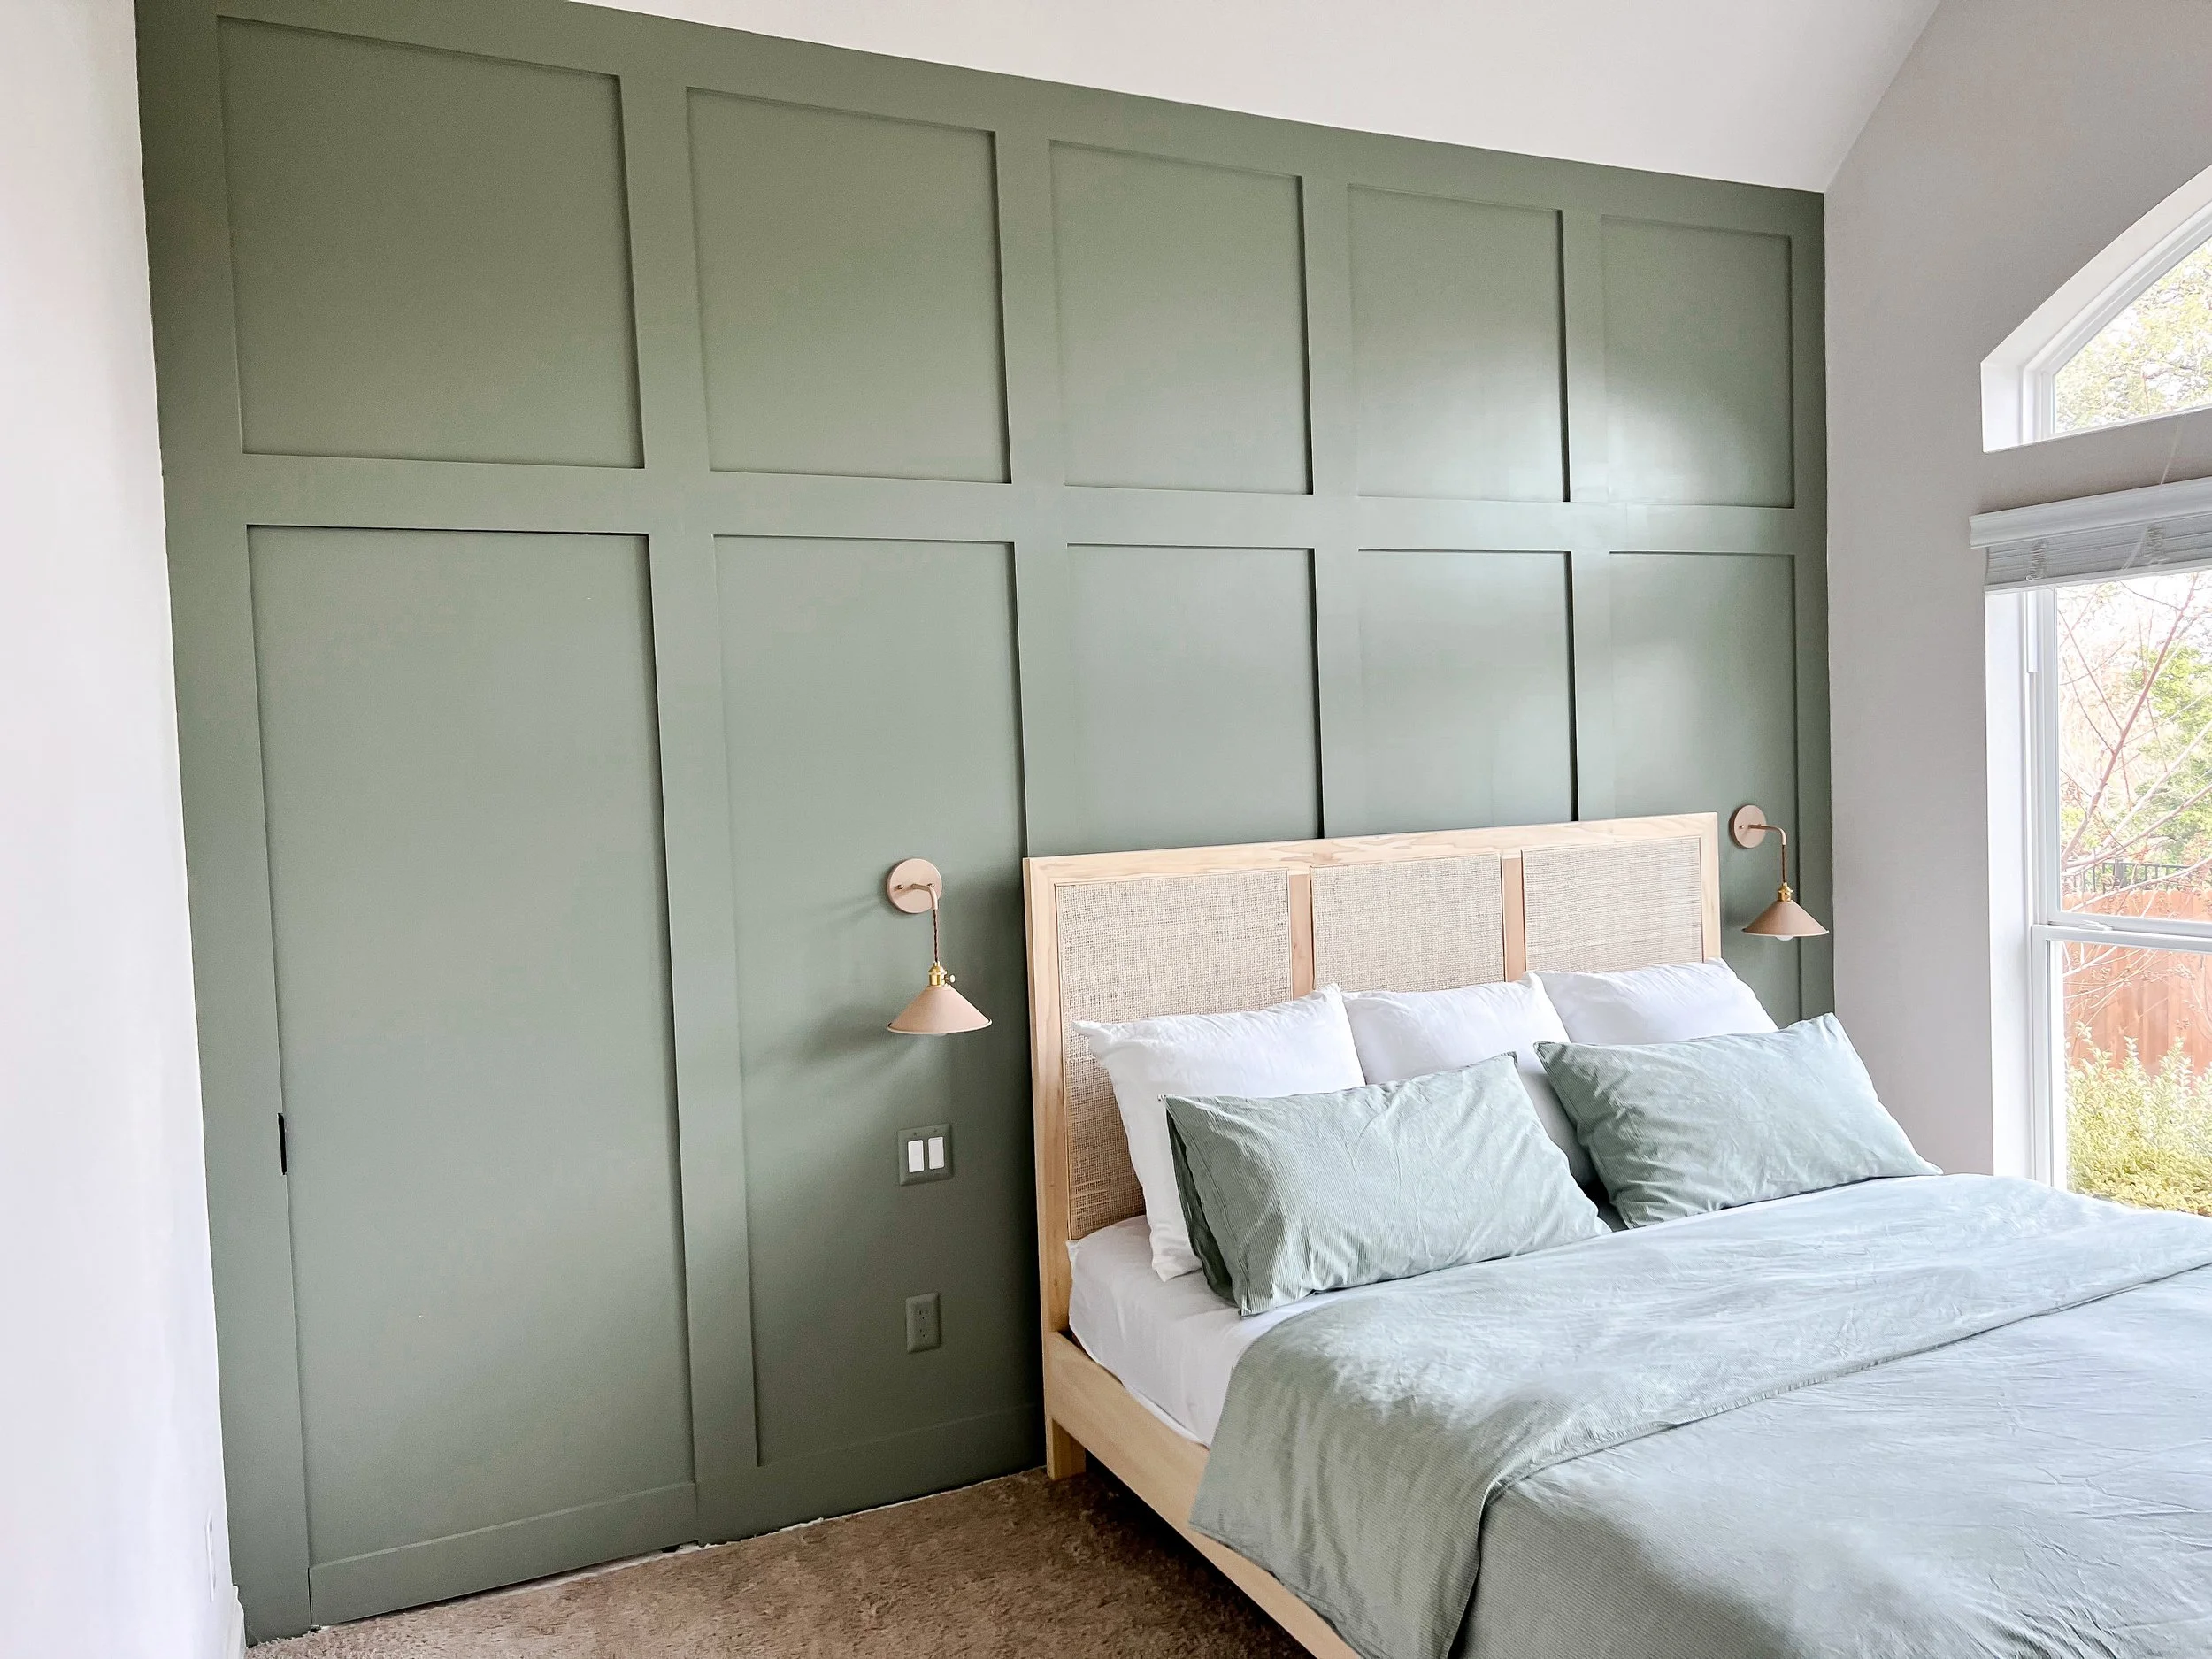
I started perusing Pinterest and brainstorming potential feature wall designs. You can view my wall inspo board here! This wall would also need a doorway to allow access to the closet and Jake wanted to try crafting a hidden door. We eventually landed on using a simple board and batten design to create visual interest and incorporate a pattern that allowed for hiding a door. We opted to wire the wall to hang sconces vs. using lamps for bedside light. I will admit, I really thought all of this was a bit above “our” skill level, but Jake knocked it out of the park! Seeing the end result, I’m really glad we took the leap to make the project a little more unique even if it was more challenging on the build side.
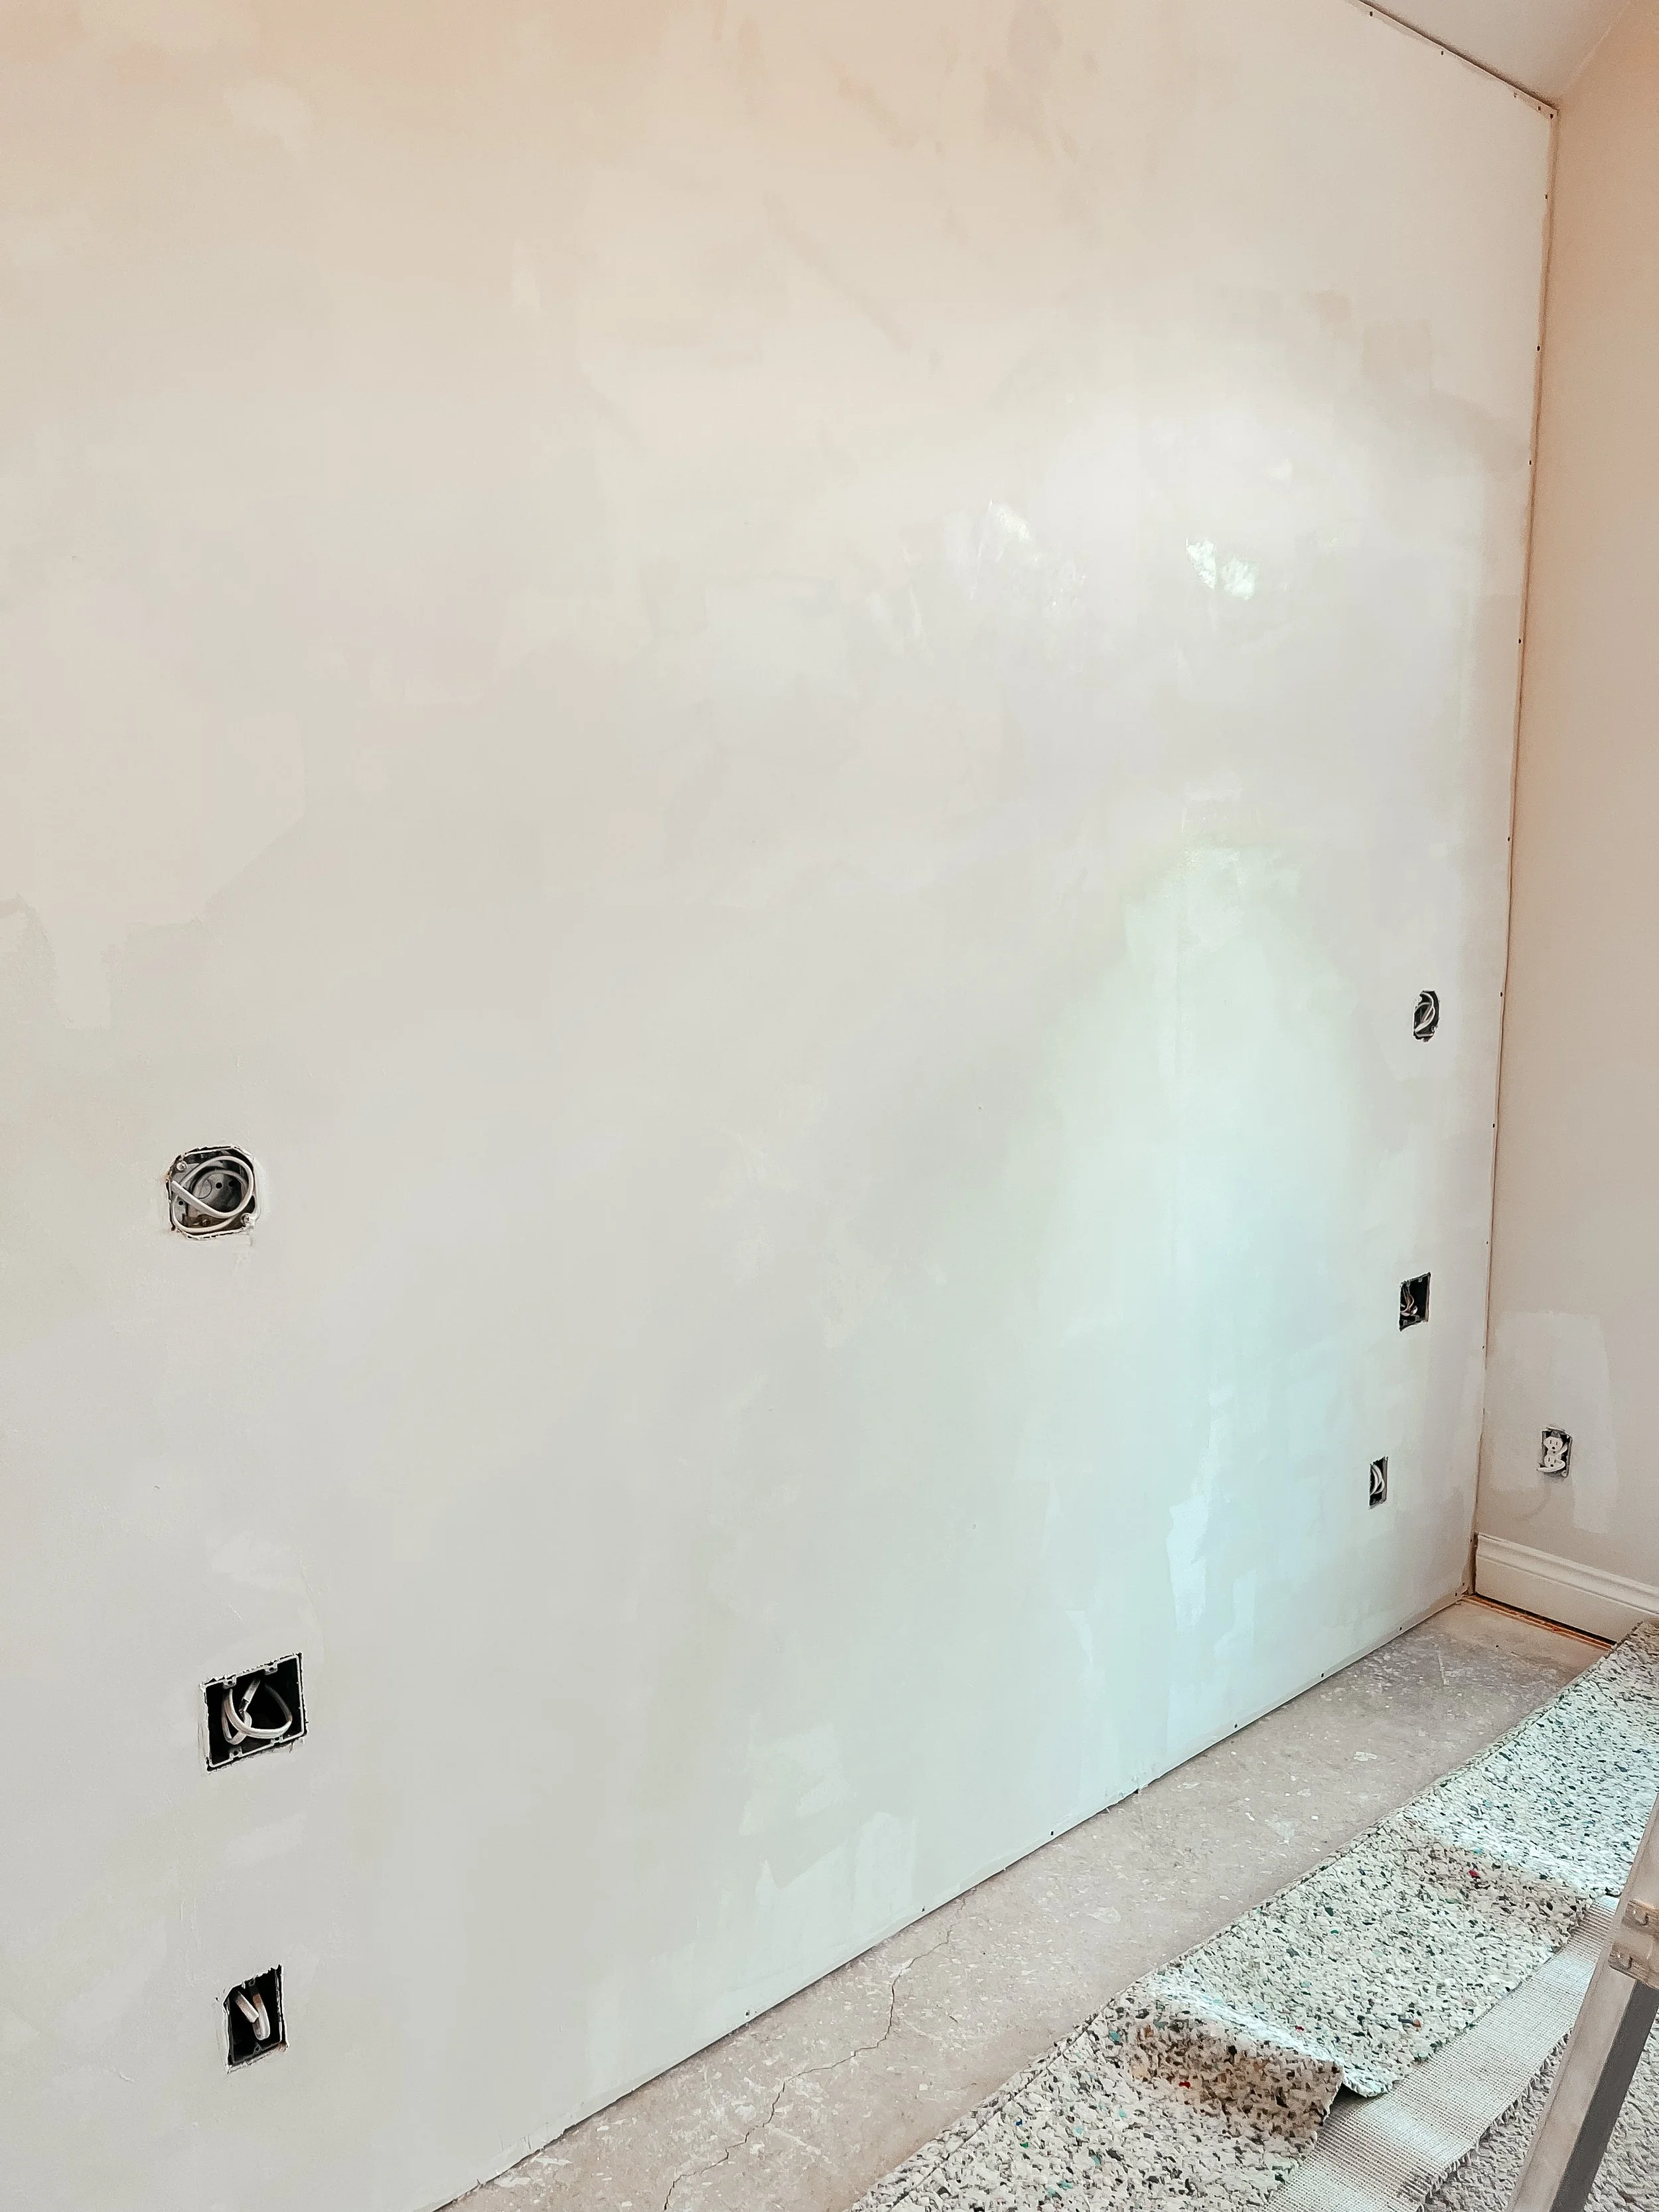
Because I enjoy designing and styling and not building, I’m going to zip past all of the logistics of the build portion of this project. If you have any questions specific to the framing, drywall, electrical work, etc. please let me know and I can connect you with my husband to provide additional insight and info.
SOME DECISIONS
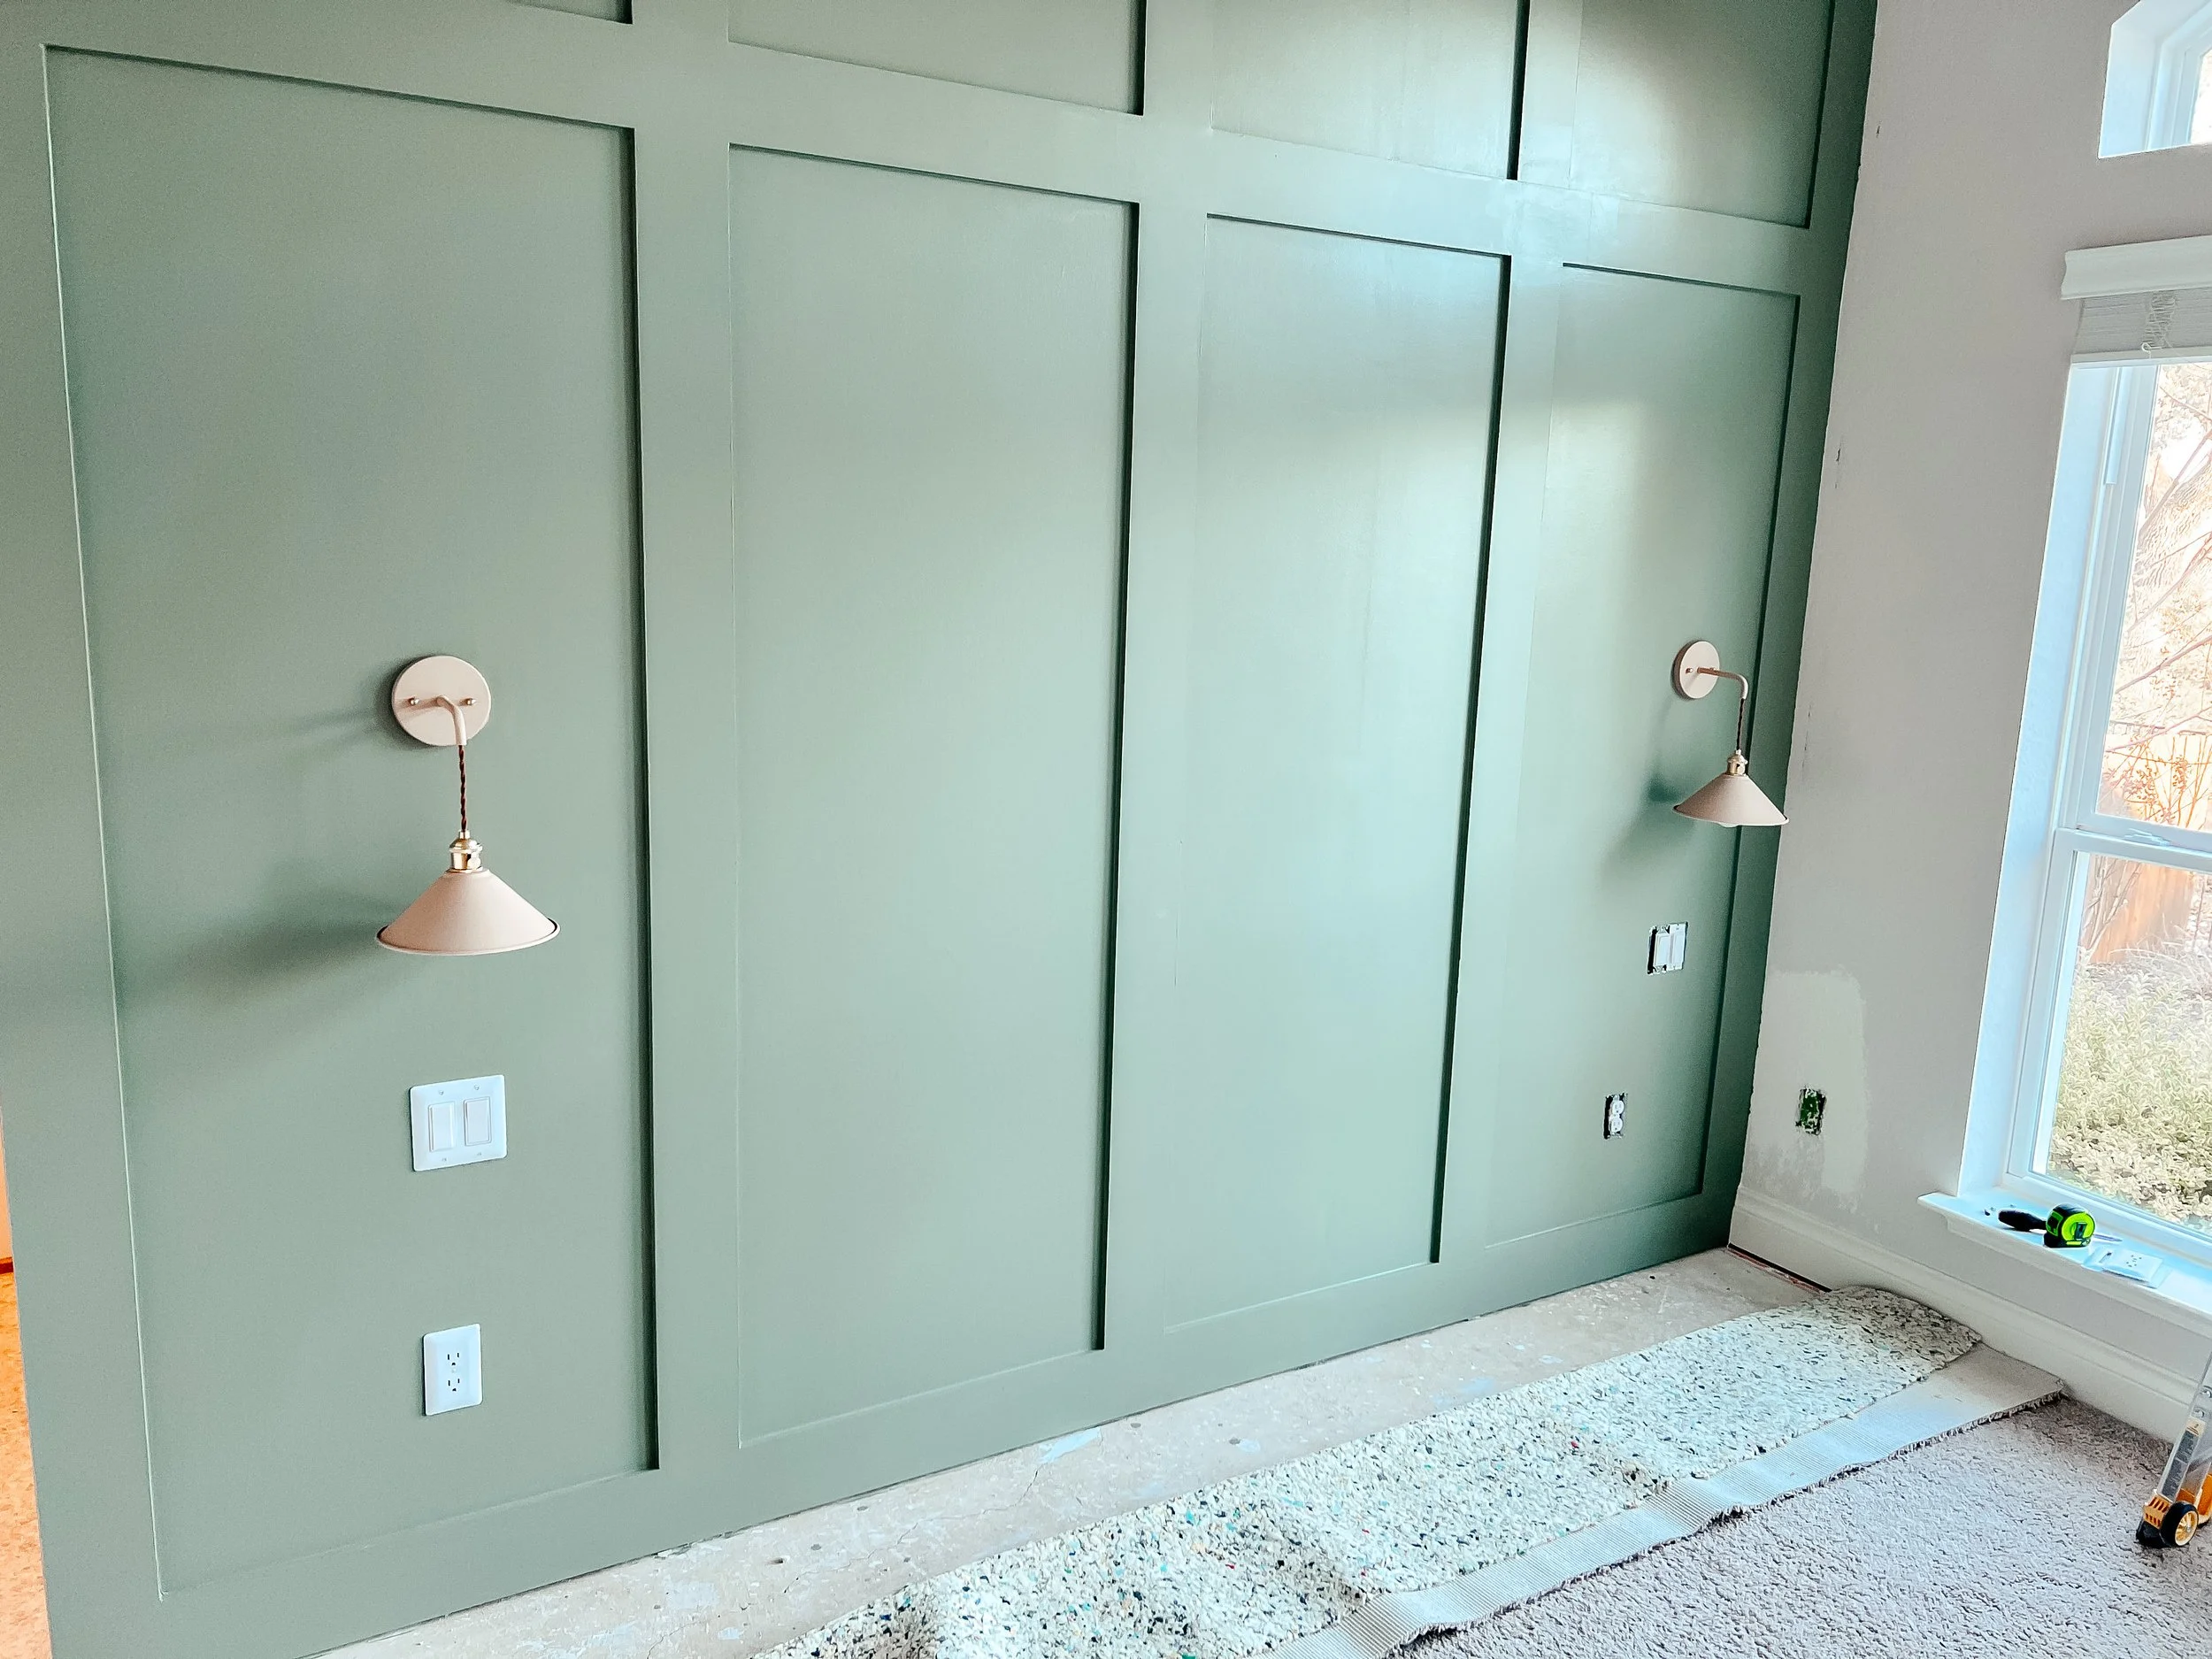
As the wall was being constructed, I began searching for an accent paint color and sconces. Again, I used Pinterest to find looks I liked and narrow down my color options. After much back and forth between Evergreen Fog (sage green) and Debonair (dusty blue) - both by Sherwin Williams - I settled on Evergreen Fog. I really love how this color looks different depending on the time of day. What I did NOT love was how much time it took to paint this board and batten wall. I didn’t even think about the increased amount of trimming and decreased amount of rolling involved! Here’s a hot tip: “one coat coverage” paint should be labeled “one coat will probably cover it, but if you want a decent looking finish you will still need to do two” paint. Needless to say, me, the wall, and Evergreen Fog spent a few days together and these projects keep me learning!
Next came the sconces. I originally had planned on doing black/gold or white/gold for the sconces to allow flexibility to change the wall color in the future (Note: This plan was made before I spent hours trimming the edges and corners of this entire wall. She’ll be staying green for the foreseeable future). I found these sconces on Amazon while searching for white/gold fixtures and was surprised by all the other color options! I ended up going with the khaki color - it is still neutral and looked right next to the paint color. The gray was also a strong contender. I highly recommend checking these out if you are on the hunt for new light fixtures!
The final touches were paintable faceplates for the outlets and light switches. I wanted the light switches to blend into the wall and this was a perfect solution! They were super easy to paint, there wasn’t any prep involved, and they dried quickly. I found these on Amazon and they offer many different versions to fit specific light switch and outlet types.
Now our bedroom is a normal size and we wake up to a gorgeous view of our backyard each morning! Mission accomplished.


Up Next: Bedroom Decor
I have a hard time visualizing how individual features of a design will come together, so I started creating design boards for everything involved - colors, fixtures, furniture, decor, etc. These boards aren’t anything fancy, but always help with each design decision. Stay tuned to see this decor board come to life!
PRODUCT LINKS


